Your photos stay on your device. Nothing is sent to a server.
See the difference before you upload
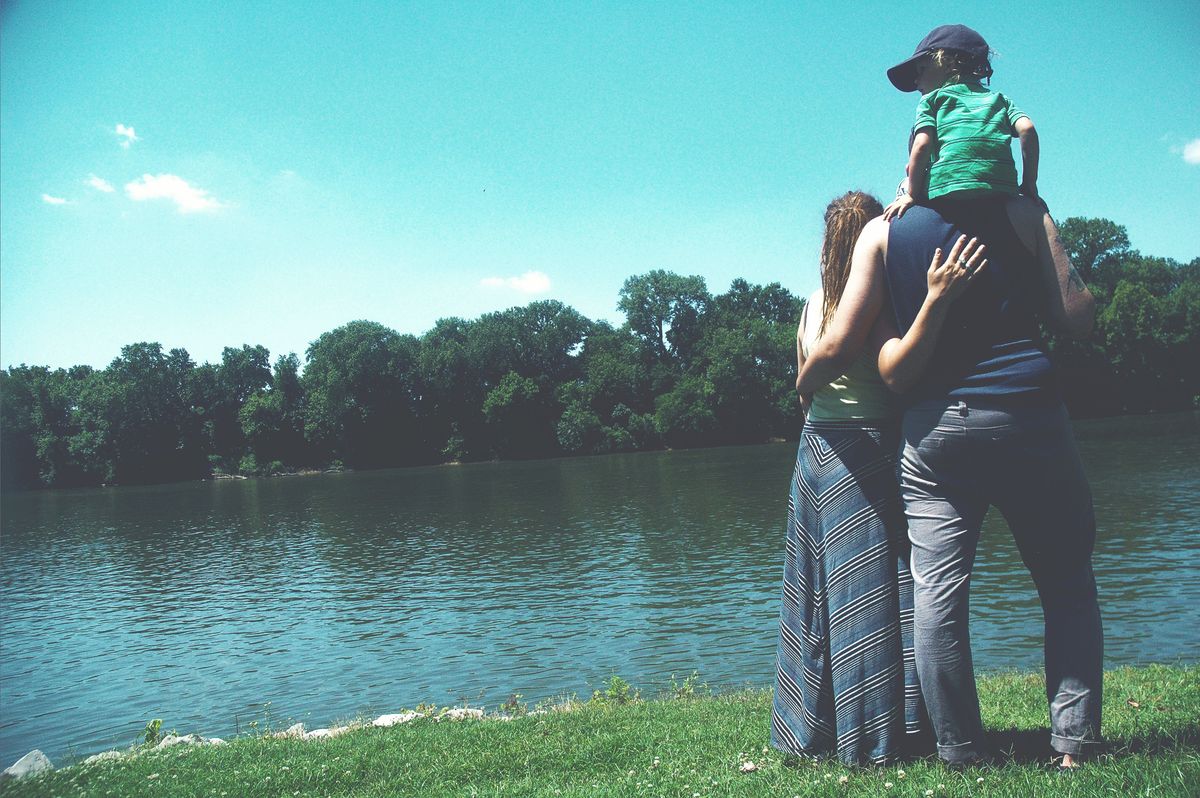
A photo printed straight from your phone, next to the same photo printed with the fix.
Why do prints look darker than screens?
It's one of the most common frustrations with printed photos: the picture looks perfect on your phone, you send it to the printer, and it comes back looking dark, muddy, and lifeless.
This happens because of a fundamental difference in how we see light. Screens emit light (they are backlit), while paper reflects light from the room you are in.
The Screen Illusion
A screen shines light through your photo, so it looks brighter than the file really is. On paper that backlight is gone, and the photo shows its true, darker values.
How it works
- 1
Add a photo
The fix is measured from your photo and applied as soon as it opens. There is nothing to press and nothing to set up.
- 2
Compare the two prints
One comparison shows your photo "Printed as is" and "Printed with fix", so you see what the paper will do to it.
- 3
Choose your paper, if you know it
Glossy, Matte or Canvas. "Not sure" is already selected and uses a middle setting that suits most papers.
- 4
Download the print-ready photo
You get a JPEG any print lab accepts. It looks brighter on screen on purpose: the paper needs the extra light.
Frequently Asked Questions
Why do prints look darker than they do on screen?
A screen is lit from behind, so photos look brighter and more vivid on it. Paper has no light of its own and only reflects the light in the room. Without that backlight the same photo comes out darker and duller on paper.
What does the tool do to my photo?
It measures how dark your photo is and brightens it by the amount that photo needs, lifting the middle tones while bright areas such as skies and white clothing keep their detail. It also adds back a little contrast and colour for the paper you are printing on. A photo that is already bright gets only a small lift. The fix is automatic and is applied as soon as your photo opens, so there is nothing to press and nothing to learn first.
Which paper type should I choose?
Choose Glossy, Matte or Canvas if you know what you are ordering. Glossy reflects the most light and gets the gentlest fix, matte soaks up more and gets a stronger one, and canvas gets the strongest. If you do not know, leave it on Not sure, which is already selected and uses a middle setting that suits most papers.
What does the comparison show?
One photo, two ways: "Printed as is" on one side and "Printed with fix" on the other. Both sides show how the photo will look on paper, not how the file looks on your screen, so you are comparing print with print. Drag the divider to see more of either side.
Why does the downloaded file look too bright on my screen?
That is intended. The download carries extra light for the paper to absorb, so on a backlit screen it looks brighter and a little washed out. Judge it by the "Printed with fix" side of the comparison, not by the file on your screen.
What if the result looks too bright or too dark?
Open Adjust in the print preview and pick Light, Recommended or Strong by looking at the three thumbnails. Manual controls for brightness, contrast, saturation and warmth sit behind Advanced for anyone who wants them. Most photos need neither.
What file do I get?
A high-quality JPEG that any print lab accepts, named after your original with "print-ready" added. Camera details such as the date, location and camera settings are not carried over.
When is it worth asking a professional?
For very large prints such as wall murals, for colours that must match a brand exactly, and for fine art on specialist materials. For everyday prints, frames and albums this tool is enough.
Are my photos uploaded anywhere?
No. Your photos stay on your device. Everything runs in your browser, and nothing is sent to a server or stored.